Database
By using this screen the user can register the databases used by Lowcode .
How to access
- Access the feature by navigating the menu Lowcode > Configuration > Database.
Preconditions
- Not applicable
Filters
- The following filter enables the user to restrict the participation of items in the standard feature listing, making it easier to find the desired items:
- Keyword

Figure 1 - Database Search Screen
Items List
- The following cadastral field is available to the user to make it easier to identify the desired items in the standard feature listing: Name.
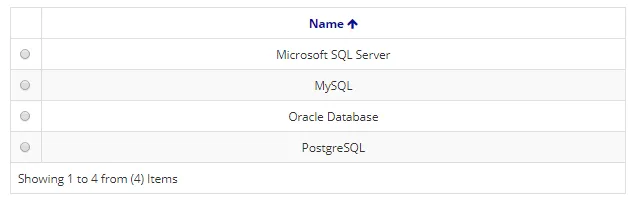
Figure 2 - Database Listing Screen
Filling in the Registration Fields
- To register a database that is not in the list, click on "New", as shown in the figure below:
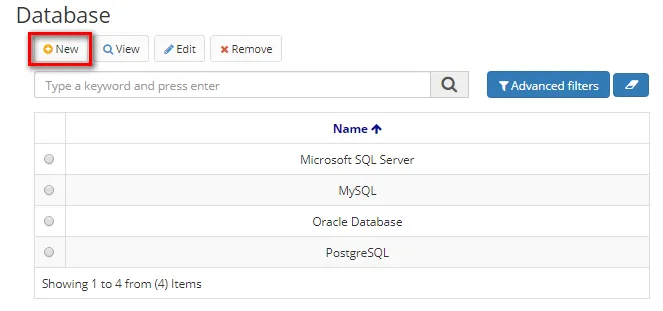
Figure 3 - Database Home Screen
- On this screen, the user is also allowed other actions. They are:
- To edit a created item, select the desired item, click on "Edit", make the changes, and click on "Save".
- To view an item, select the item and click on "View".
- To remove a created item, select the item you want, click on "Remove", and confirm the deletion.
- When you click on "Next", the following screen will appear:
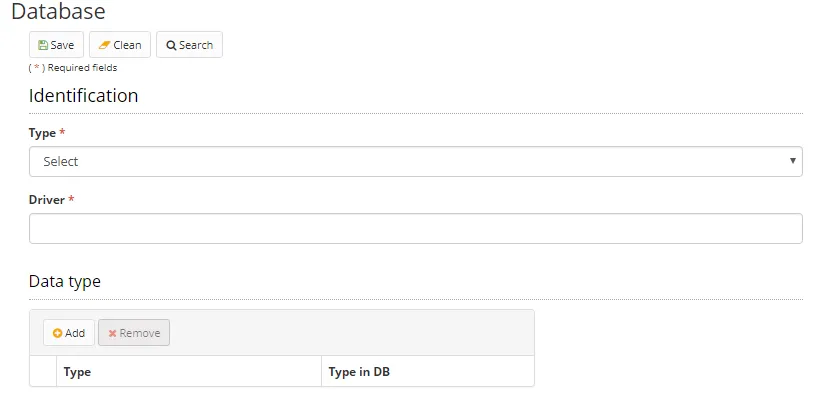
Figure 4 - Database Register Screen
- Enter the database type, the driver path, and select the Data type that is accepted by the registered database.
- The database types are pre-registered in the application. To learn more about registering data types, please refer to the relevant documentation.
- Click on "Save" to create the database. Click on "Search" to return to the previous screen.